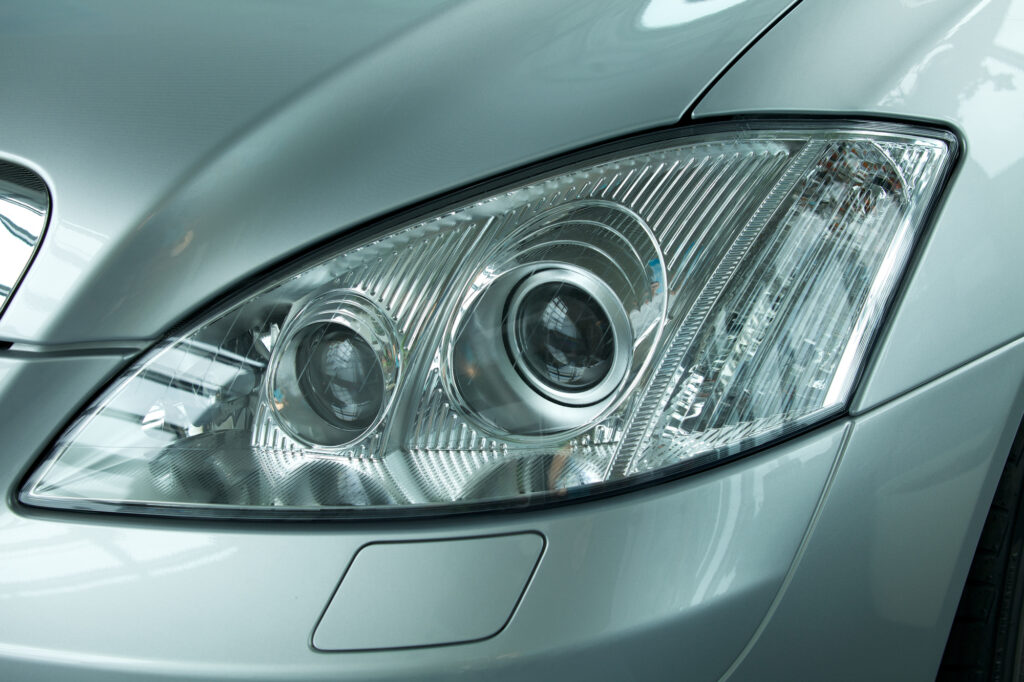
How to care for your headlights or when to bring in a professional
Over time all headlights can become cloudy or dirty. The biggest causes are road dirt, debris, and UV rays from the sun, all of which can wear away the protective coating on headlights.
But before you purchase new headlights, it’s worth seeing if they can simply be cleaned. Below, find some DIY options to try, as well as when to hire a professional for the job.
Toothpaste
One of the most common methods for cleaning headlights involves a product you likely already have on hand: toothpaste. Since toothpaste is mildly abrasive, it’s perfect for cleaning headlights.
Simply grab some toothpaste and several soft cloths. First, wash and dry your headlight with soap and water. Then apply about a fingertip’s worth of toothpaste to each headlight and scrub with the cloth, using more toothpaste as needed. Once the protective coating has been entirely removed and the headlight looks clear, rinse the headlight, let it air dry, and apply a sealant.
This method takes about five minutes per headlight. Pro tip: add baking soda to your toothpaste if your headlights are particularly cloudy.
Vinegar & Baking Soda
Another popular method for cleaning headlights involves using two other common household products: vinegar and baking soda.
Like with toothpaste, you’ll first wash and dry the headlights with soap and water. Then, mix together two parts distilled white vinegar with one part baking soda in a clean container and stir or shake. Next, dip a clean microfiber cloth into the mixture, and use the cloth to scrub each headlight for several minutes. Rinse the headlights with water and allow them to air dry, repeating these steps several times if needed, always rinsing your headlights at the end.
Once again, you’ll want to apply a new layer of sealant once the headlights are clean and dry.
Using a DIY Cleaner Kit
A third popular method for cleaning headlights involves purchasing an actual DIY headlight cleaning kit. These kits often include several types of sandpaper, cleaner and/or polish, cloths, and protective coating or sealant. Most kits are equipped to clean two headlights.
If you go with a kit, be sure to read the instructions carefully and follow them, so as not to scratch your headlights. Be sure to also purchase enough kits to clean all your lights that need it. For example, if you’re planning to clean both your headlights and tail lights, you’ll likely need more than one kit.
When to Call a Professional
If you want to make sure the job is done right the first time, it might make sense to call a professional off the bat versus doing it yourself. One sign that you should bring your car in? Scratches or scuffs on your headlights.
Abrasives can make those scratches or scuffs even worse, damaging your headlights further. When you take your car into a shop for headlight restoration instead, they can buff away these imperfections and make your headlights look good as new. Plus, your headlights won’t just look good – they’ll also be protected against rain, dirt, and more, potentially saving you money on repairs down the road.
Contact us for more information about your headlights or other autobody repairs.